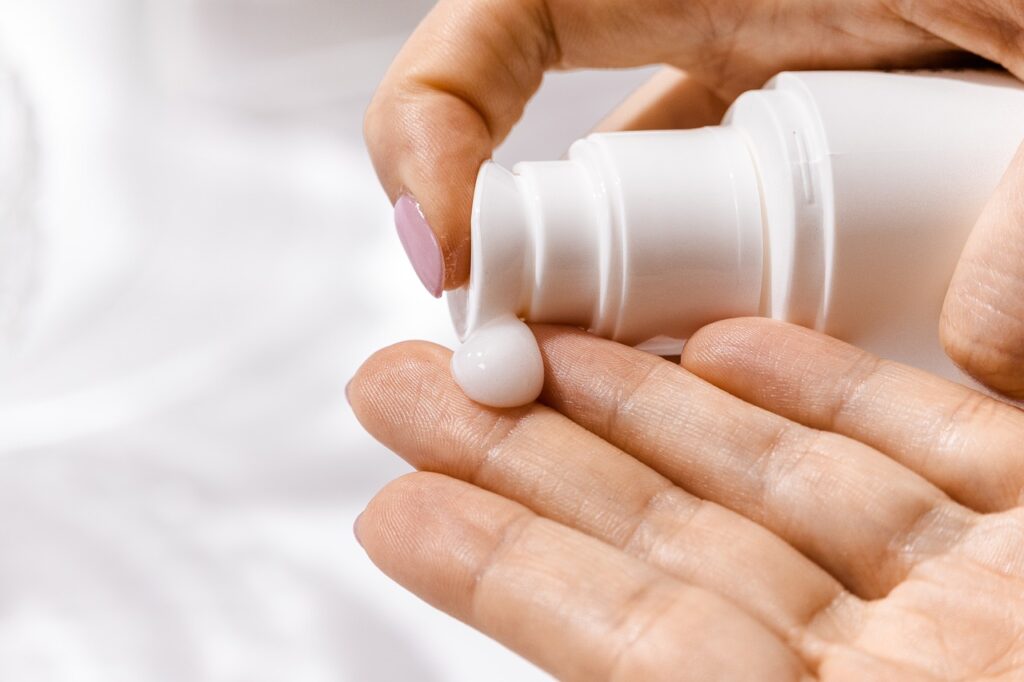
As the world turns its collective attention to natural and homemade products, the DIY skincare movement continues to grow in popularity. For many people, making lotion at home has become a delightful and satisfying hobby. It gives them a chance both to create and to experiment, and to ensure that their personal skincare remains free of the offensive chemicals that all too often get added to the so-called "natural" lotions on store shelves. Making your own skincare can also be a cost-effective alternative to high-priced commercial products. And, of course, it provides a space to be really creative.
### The Fundamentals of Lotion
Lotion is essentially a water and oil mixture, which can be further enhanced by various components, such as essential oils and botanical extracts, to give it character and function. The lotion-making process can be further elucidated by first understanding its "phases." These are the distinct parts of the mixture that must come together to make a well-functioning lotion. 1. **The Water Phase**: The primary ingredient in most lotions, this "phase" contains distilled water or other hydrating liquids (such as aloe vera juice or herbal infusions). 2. **The Oil Phase**: This "phase" consists mainly of carrier oils (like coconut oil, almond oil, or jojoba oil) and emulsifiers, which are crucial for blending the water and oil together. 3. **Emulsifiers**: These form the bridge between the water and oil phases. Common emulsifiers include beeswax, emulsifying wax, and shea butter. 4. **Additives**: These can be anything from vitamins (like vitamin E) to preservatives and essential oils for enhancing the fragrance to make it appealing.

### Lotion Recipe from the Basics
This is an uncomplicated formula for you to try your hand at creating lotion. You can make about 8 ounces, which is a handy amount to have around and share with friends (or keep all to yourself!).
### What You'll Need
- **1/2 cup** of distilled water (or herbal infusion)
- **1/4 cup** of a carrier oil (like sweet almond oil or coconut oil)
- **1/4 cup** of emulsifying wax (or beeswax)
- **1 teaspoon** of vitamin E oil (for preservation, skin benefits)
- **Essential oils** (optional, for scent)
- **A preservative** (optional; if you want your lotion to last longer than a month)
### Utensils You Should Have
- A way to gently heat the oils and waxes (double boiler, bowl that can go in the microwave, less than 170°F)
- Something to mix with (whisk, hand mixer; emulsifying may be necessary)
- A means of measuring (cups, spoons)
- Containers to put the finished product in (clean and, preferably, sterilized)
### Instructions in Brief
1. **Get Set Up**: Clean your workspace. Contamination can make skincare products unsafe.
2. **Heat the Oils**: Combine the carrier oil and emulsifying wax in a double boiler (or a makeshift one using a heatproof bowl over a simmering pot of water). Heat very gently until the wax is melted. If using beeswax, be patient; this may take a few minutes. Stir well so that everything melts evenly.
3. **Heat the Water**: Use a separate container to heat your distilled water. Do not boil! It should be around 160°F (70°C), which is a good temperature for stirring in the emulsifying wax to create an even lotion. (If you happen to have some pond water handy, that might work too!)
4. **Blend**: Slowly pour the water into the oil while whisking. The emulsifier goes to work now, blending the two together. Don't be distressed if it looks more like a slop than a cream at this point! Emulsifiers need time to do their job.
5. **Cool Down**: After a few minutes of whisking, turn the heat off the double boiler, and allow the mixture to cool until it is about 120°F (49°C). Once it's cooled, add in the vitamin E oil and give it a good stir to get everything mixed evenly.
### Customization Tips
Making your own lotion provides the opportunity to tailor it to your individual taste. Here are a few ways to do that: - **Scent It Up**: Use various essential oils in different amounts to achieve a range of desired scents. The perfumed notes from lavender, peppermint, and citrus oils smell divine and are, to varying extents, not only fragrant but also have the potential to offer some therapeutic properties as well. - **How's the Thickness?**: Varying the amount of emulsifying wax you use will give you either a thicker or thinner lotion. This is a good way to achieve your desired texture. - **Color It Natural**: Add color to your lotion with natural colorants like beetroot powder and spirulina.
### Conclusion
Crafting a personalized lotion is a process that fulfills and empowers you. It is the very essence of a DIY project—something you can and ought to do for yourself. While the following (very basic) recipe will get you started, feel free to play and understand that the art of lotion-making is a skill that can only better your life and your skin.
Whether you choose to make a simple lotion or one with more complicated ingredients (think shea butter, coconut oil, or essential oils), the foundation of DIY skincare is this: if you have the time and the inclination, you can craft something that is as safe as it is effective.